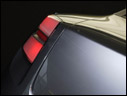
FITS: 2015-2019 POLARIS SLINGSHOT (FIRST GENERATION) FOR FITMENT, LOOK BELOW› Print-To-Order Custom fresh in 3–5 days High-Tack Vinyl Aggressive road grip UV Armor Lam Scratch & fade resistant 1-Year Warranty Guaranteed against peeling // Product Specifications & Coverage
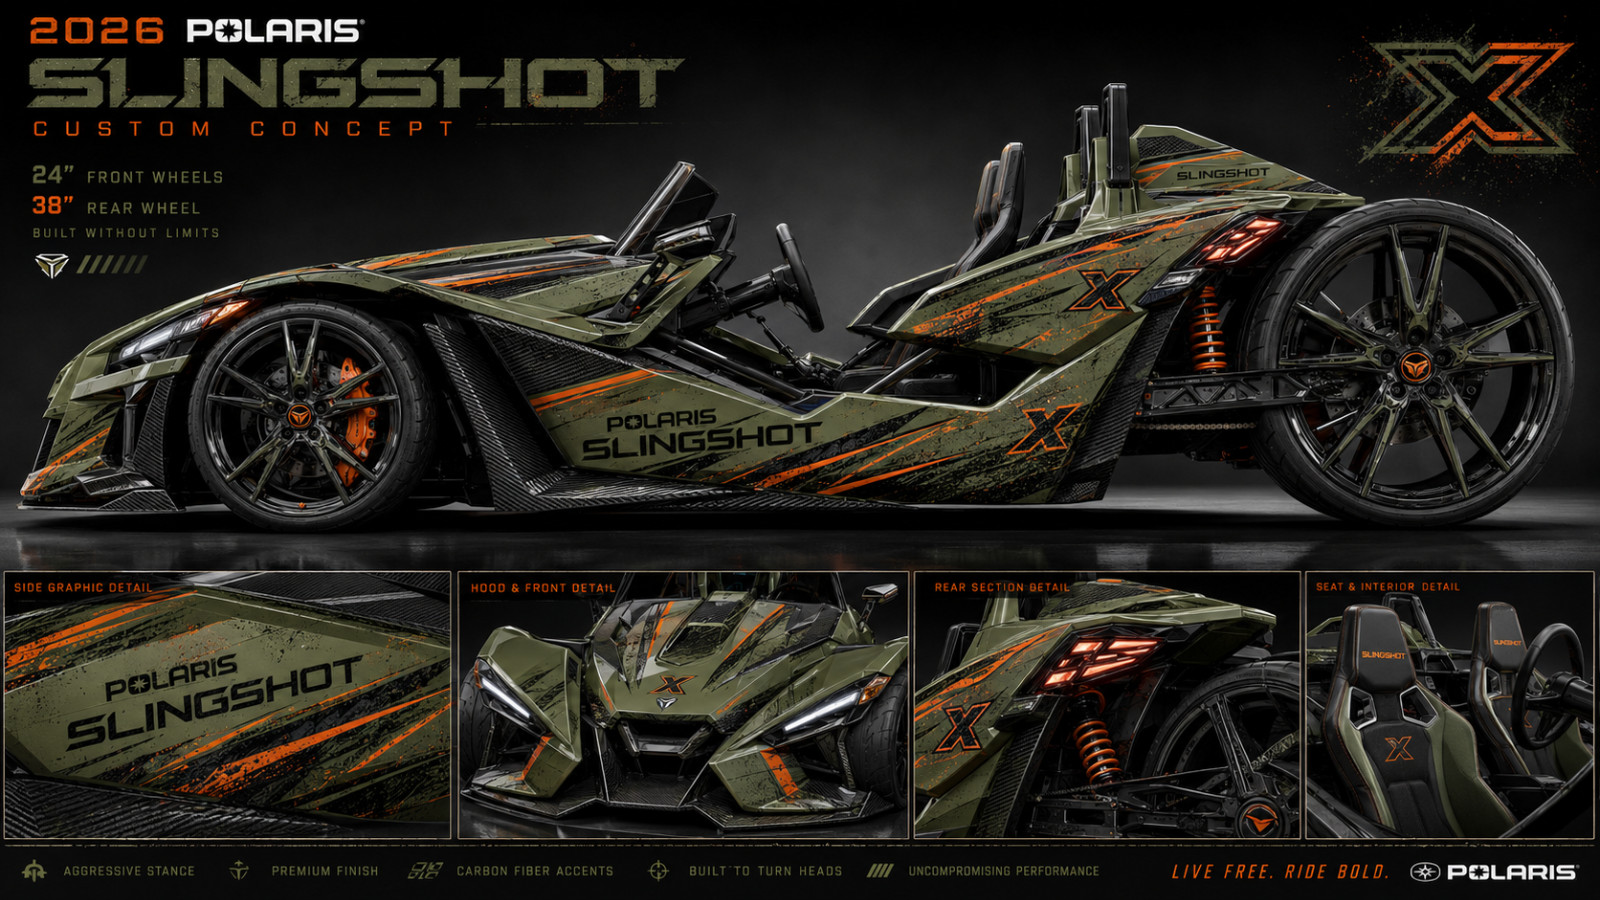
Transform your 2015-2019 Polaris Slingshot with a bold, custom KGFX look. Featuring the Golden Ride design in Army Green. This graphic kit is designed for the factory body style.
Fitment Notice:
2015-2019 Polaris Slingshot (First Generation) model and trim. This kit is made for the body style only; please confirm fitment before production.
- Heavy-Duty Vinyl: Printed on commercial-grade wide-format systems with high-gloss protective laminate and high-tack aggressive adhesive.
- Color & Fitment Reality: Graphic kits do not provide 100% full body coverage; underlying body edges will remain visible. Custom wrap colors do not match OEM paint codes 100%.
// Production, Inspection & Returns
100% Print-To-Order: We do not stock pre-printed shelves. Please allow a minimum of 3 to 5 business days (Monday–Friday) for production, curing, lamination, and quality control before shipping from our Utah studio.
Item Status Return / Exchange Policy Unopened in Box Eligible for return in original packaging; subject to standard restocking fee. Opened / Seal Broken Exchange Only. Valid only if all components are brand-new, perfect, and uninstalled. Peeled from Paper or Installed Strictly No Returns & No Exchanges. Once peeled from backing or applied to vehicle, product is permanently committed.
Mandatory Pre-Install Check: You must lay out and visually inspect all graphic panels for alignment and defects before removing the paper backing.
// Warranty & Installation Disclaimer
- 1-Year Material Warranty: Fully covered against material defects including bubbling, cracking, or premature peeling under normal operating conditions.
- Transit Damage Protection: If any piece arrives damaged from shipping, we will ship a replacement for that exact damaged part (not the entire kit).
- Installation Liability: We manufacture the graphics; we do not perform the install. We strongly recommend having your wrap installed by a certified wrap professional (such as a 3M certified installer). All DIY installations are performed entirely at the buyer\'s own risk. Improper prep, over-stretching, or misalignment during self-installation are the buyer\'s sole responsibility and do not qualify for returns, replacements, or claims.
Lead Specialist
CUSTOM GRAPHICS. BUILT TO STAND OUT.
ABOUT KGFX KUSTOM
Specializing in custom graphic kits and aggressive vehicle wraps for over 20 years. Built to handle snowmobiles, side-by-sides, ATVs, dirt bikes, and custom motorsport machines.
Custom Graphics. Built to Stand Out.
Professional installation is recommended.
If you choose to install these graphics yourself, you do so at your own risk. This is how I install graphics and I have found it to be the best way — follow each step carefully. Surface preparation is the most important part of the entire job.
1. Deep clean with Simple Green. Scrub every panel the graphic will touch — every crack, edge, and seam. If the machine came from the dealership with Armor All on it, or Armor All, tire shine, wax, or silicone dressing was ever used, clean it especially well. Use a toothbrush with Simple Green to get into tight spots and textured grooves. Rinse extremely well with clean water and let the plastic dry completely.
2. Old adhesive? Remove it with an adhesive remover, then wash that area again with Simple Green and rinse thoroughly. Leftover remover residue will eat away at the new graphic\'s glue.
3. Right before installing, wipe the surface with isopropyl alcohol on a lint-free cloth. After this wipe, do not touch the plastic with bare hands — skin oils will contaminate it.
4. Hard or heavily textured plastic: install DRY — no water or spray. Smooth, soft, or flat plastic: lightly mist a 50/50 mix of isopropyl alcohol and water onto the surface AND onto the back of the graphic, then slide it into position.
5. Squeegee from the center outward with firm, overlapping strokes using a rubber squeegee. On textured plastic, work the vinyl until you can almost see the texture pattern through the graphic — that means the adhesive is seated in the valleys, not bridged over the tops.
6. Warm gently with a heat gun (keep it moving, never park it in one spot) to help the vinyl conform around curves, then press all edges down firmly.
7. You can set the machine in the sun briefly to help everything set — but watch it and don\'t leave it baking. Too much heat will make the vinyl curl up.