89-91 Honda CRX Door Sash Repair Kit (repairs 2) 72430-SH2-A01 72470-SH2-A01 For Sale - New and Used
When you click on links to various merchants on this site and make a purchase, this can result in this site earning a commission. Affiliate programs and affiliations include, but are not limited to, the eBay Partner Network.

89-91 Honda CRX Door Sash Repair Kit (repairs 2) 72430-SH2-A01 72470-SH2-A01:
$10.00
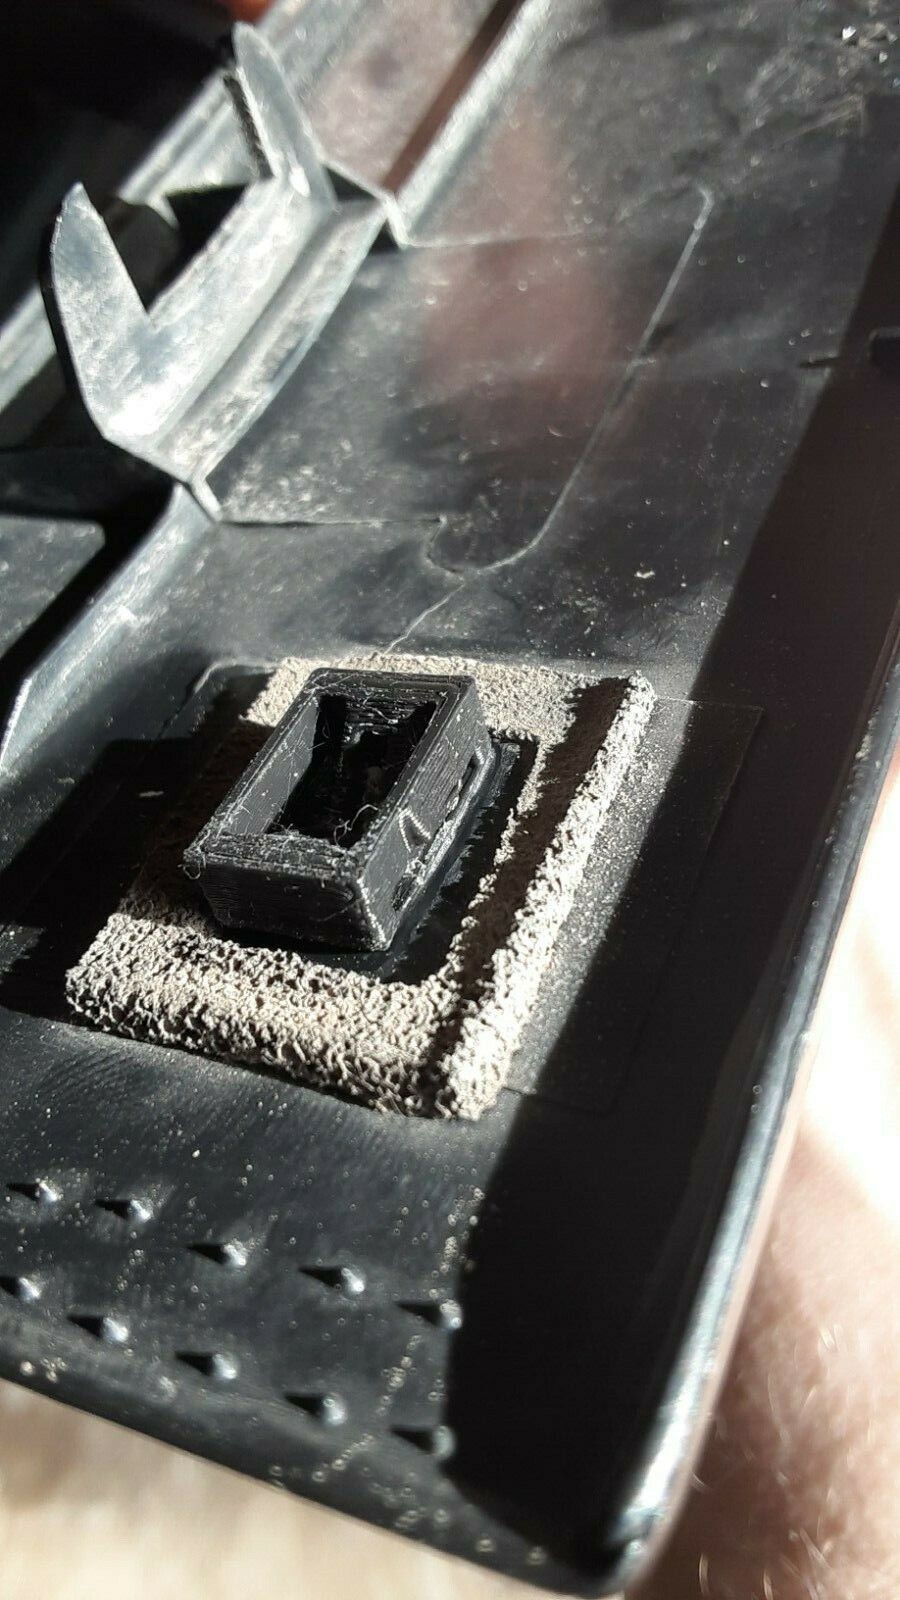
89-91 Honda CRX Door Sash Repair Kit (Set, 3d print) 72430-SH2-A01 72470-SH2-A01. -I would suggest using these with a double-sided tape for extra security. -This Kit is enough to do TWO DOOR SASHES for an entire CRX.-THIS IS A 3D PRINTED PART. Printed with ASA for extra heat resistance and durability.Part may come in White or Black. Color of part has no bearing on quality and isn't visible after installed on car.Kit includes: - 6 box-shaped bracket replacements
- 4 pieces of 3m double-sided automotive adhesive
- 1 Set of instructions (English) Español proporcionado a style="margin-top:0pt; margin-bottom:0pt;">Installation Instructions:
Clean area where pieces will be installed. Make sure it is dry and free of any film or soap residue. (Rubbing Alcohol suggested) Test-fit piece over broken/missing piece one last time to ensure your placement. Apply glue to the bottom of the box clip Press and hold box-clip into place on the door garnish for 30 seconds to 1 minute. Set the newly glued part down and apply a drop of glue to the inside of the rectangular hole from the top. Let the part sit until the glue in the hole appears white/dry. (2-3 hours) Press the box-clips into the door from bottom to top, one at a time. You may hear two clicks- each click is a side of the box-clip popping into the door.
Tips: Sometimes less glue is more. Don’t use enough for it to drip. The rectangular hole is meant to go where the broken off piece was. Test fit the box-clip over the missing part. If there is enough material left to help guide it, perfect. If the remaining broken plastic interferes with the box-clip at all feel free to trim or remove as needed. Be sure to wait ample time for the glue to dry before applying it to the door. TRANSLATE
Instrucciones de instalación: Zona limpia donde se instalarán las piezas. Asegúrese de que esté seco y libre de cualquier película o residuo de jabón. (Se sugiere frotar alcohol) Pruebe la pieza sobre la pieza rota / faltante una última vez para asegurar su colocación. Aplique pegamento (suministrado) en la parte inferior del clip de la caja. Mantenga presionado el clip de la caja en su lugar en la guarnición de la puerta durante 30 segundos a 1 minuto. Coloque la parte recién pegada hacia abajo y aplique una gota de pegamento en el interior del orificio rectangular desde la parte superior. Deje que la pieza repose hasta que el pegamento en el agujero parezca blanco / seco. (2-3 horas) Presione los sujetadores de caja en la puerta de abajo hacia arriba, uno a la vez. Es posible que escuche dos clics; cada clic es un lado del clip de la caja que aparece en la puerta.
Consejos: a veces, menos pegamento es más. No use lo suficiente para que gotee. El agujero rectangular está destinado a ir donde estaba la pieza rota. Pruebe el ajuste del clip de la caja sobre la parte que falta. Si queda suficiente material para ayudar a guiarlo, perfecto. Si el plástico roto restante interfiere con el clip de la caja, no dude en recortarlo o quitarlo según sea necesario. Asegúrese de esperar un tiempo suficiente para que se seque el pegamento antes de aplicarlo en la puerta. ¡Paciencia!
|
|

Related Cars:

2009 Novitec 599 GTB Fiorano

2015 Lamborghini Huracan LP610-4

2004 Mazda Mazdaspeed MX-5 Miata

2013 Chevrolet Corvette 427 Convertible
2009 9ff GT-T900

2011 Porsche Cayenne Turbo

2008 Ford GT-R

2005 Maserati MC12

2010 Audi e-tron Concept

2011 BMW 1 Series M Coupe
Related Items:
89-91 Honda CRX Door Sash Repair Kit (repairs 2) 72430-SH2-A01 72470-SH2-A01 $10.00
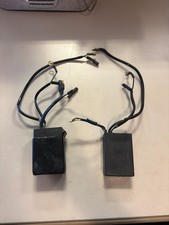
(2) 89-91 Honda CR250R CDI Ignition Engine Electrical Denso 070000-1931 $120.00
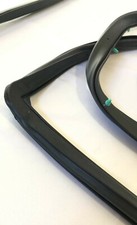
89-91 USDM Honda CRX Weatherstripping, Front Doors 72310-SH2-A21, 72350-SH2-A21 $164.50
|