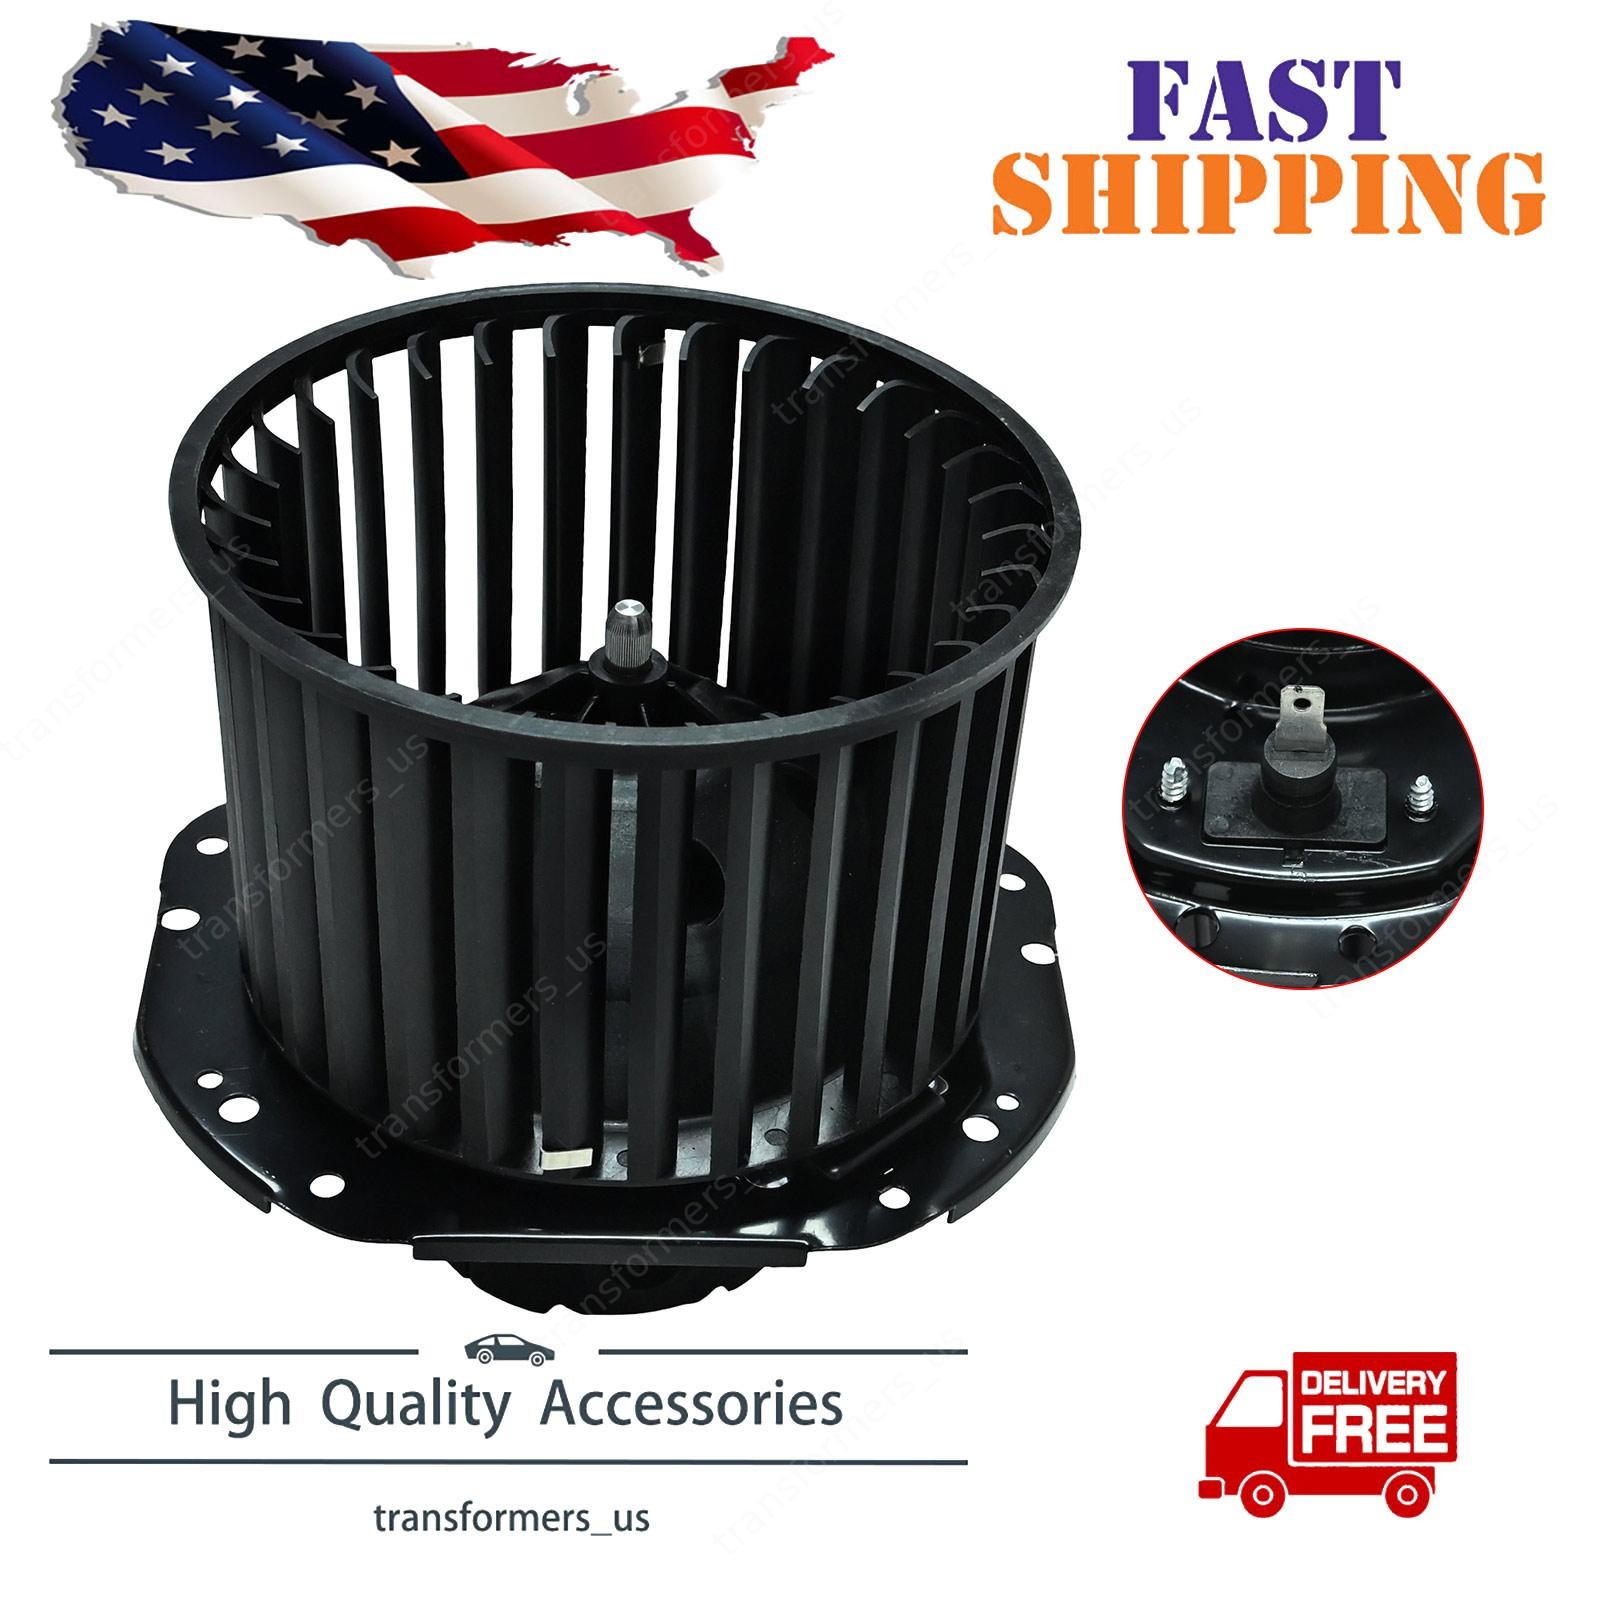
TU ❮ ❯ ❮ ❯ ❮ ❯ ❮ ❯ ❮ ❯ ❮ ❯ ❮ ❯ ❮ ❯ ❮ ❯ ❮ ❯ ❮ ❯ For 92-94 GMC Yukon 92-94 Chevrolet C1500 C2500 Suburban Heater Blower Motor Fan
Description:
Warranty: 1 Year
Easy Installation
100% New & 100% Tested & Fast Free Shipping
High quality material and complete assembly
Type:Heater Blower Motor w/ Fan Cage
Compatible with the following part number:88959522,52498869, 52466047 / 52460703,3067867 / 3537854 / 3949264
Compatible with the following vehicles:
For Chevrolet Blazer 1992-1994
For Chevrolet C1500 Suburban 1992-1994
For Chevrolet C2500 Suburban 1992-1994
For Chevrolet C2500 1988-1991
For Chevrolet C1500 1988-1991
For Chevrolet C3500 1988-1991
For Chevrolet K1500 Suburban 1992-1994
For Chevrolet K1500 1988-1991
For Chevrolet K2500 Suburban 1992-1994
For Chevrolet K2500 1988-1991
For Chevrolet K3500 1988-1991
For Chevrolet Suburban 1500 1995-1999
For GMC C15 Suburban 1978
For GMC C1500 Suburban 1979-1986, 1992-1999
For GMC C1500 1988-1991
For GMC C25 Suburban 1978
For GMC C2500 Suburban 1979-1986, 1992-1999
For GMC C2500 1988-1991
For GMC C3500 1988-1991
For GMC K15 Suburban 1978
For GMC K1500 Suburban 1979-1986, 1992-1999
For GMC K1500 1988-1991
For GMC K25 Suburban 1978
For GMC K2500 Suburban 1979-1986, 1992-1999
For GMC K2500 1988-1991
For GMC K3500 1988-1991
For GMC R1500 Suburban 1987-1991
For GMC R2500 Suburban 1987-1991
For GMC V1500 Suburban 1987-1991
For GMC V2500 Suburban 1987-1991
For GMC Yukon 1992-1994
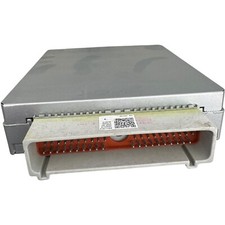
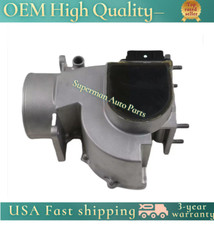
1 Heater Blower Motor w/ Fan Cage(As pictures showed)
Professional Installation Guide
1.Disconnect Power Supply: Ensure safety by turning off the electrical power to the HVAC system at the breaker panel before servicing.
2.Access the Blower Compartment: Remove the service access panel or door covering the blower assembly.
3.Unmount the Assembly: Locate and remove the mounting bolts or screws securing the blower motor housing to the main frame.
4.Disconnect Wiring: Carefully unplug or disconnect the motor wire harness from the main control board/unit.
5.Extract & Replace: Slide out the old blower motor assembly and replace it with the new premium-quality unit.
6.Reinstall & Secure: Slide the motor and housing back into position, secure all mounting hardware firmly, and reconnect the electrical wiring.
7.Test & Verify: Restore power to the system and run a test cycle to ensure optimal airflow and performance.
Please Note:
A.Communication is the best way to solve the problem.If you have any questions, please contact us first, we will provide you with quality service and hope that your transaction can proceed smoothly.
B.Please confirm that this part fits your vehicle, enter your vehicle's Year, Make, Model, Trim and Engine in the Compatibility Table.
C.Please Check the Part Number and Compare with Pictures Provided Carefully Before Purchasing to Ensure It Is The Correct Product You Need.
D.Professional installation in highly recommended (No instruction included).